Main Content
Calendars and Contacts with iOS
Please note: This manual only describes the synchronization of contacts and appointments. To retrieve e-mail under iOS, please configure an additional mail account (Settings >> Mail, Contacts, Calendar >> Add account >> Other) with the data you can find under Mail Program Settings.
Setup Webmail Calendar via profile
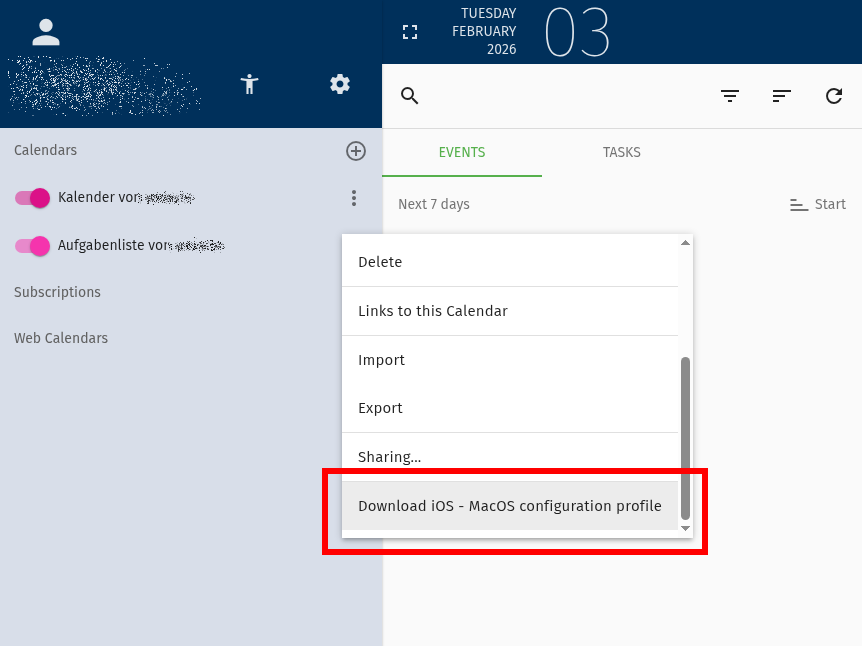
In the context-menu of address books and calendars, webmail offers a Mac profile to download
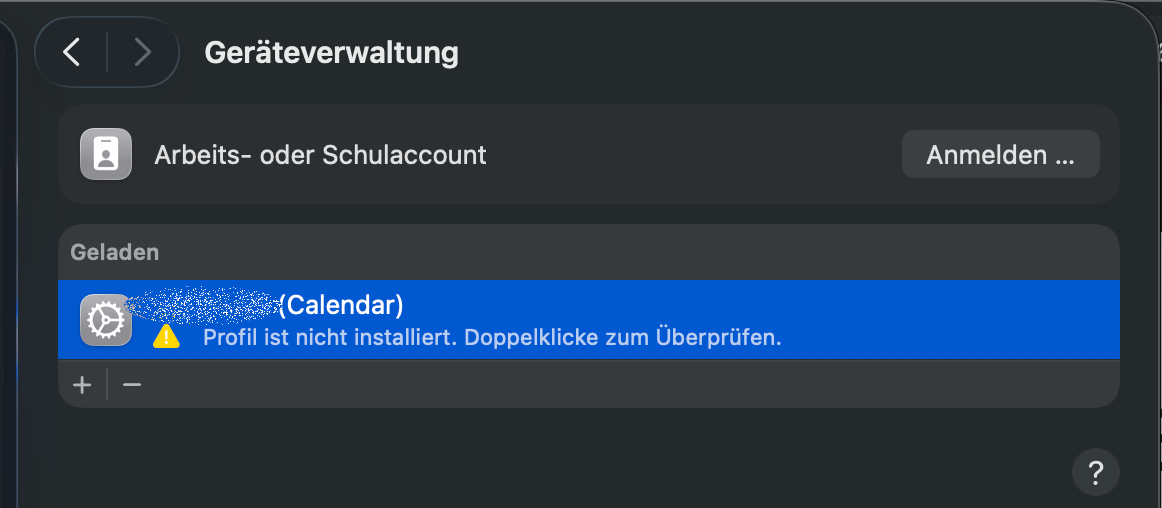
Webmail profile import on an Apple device
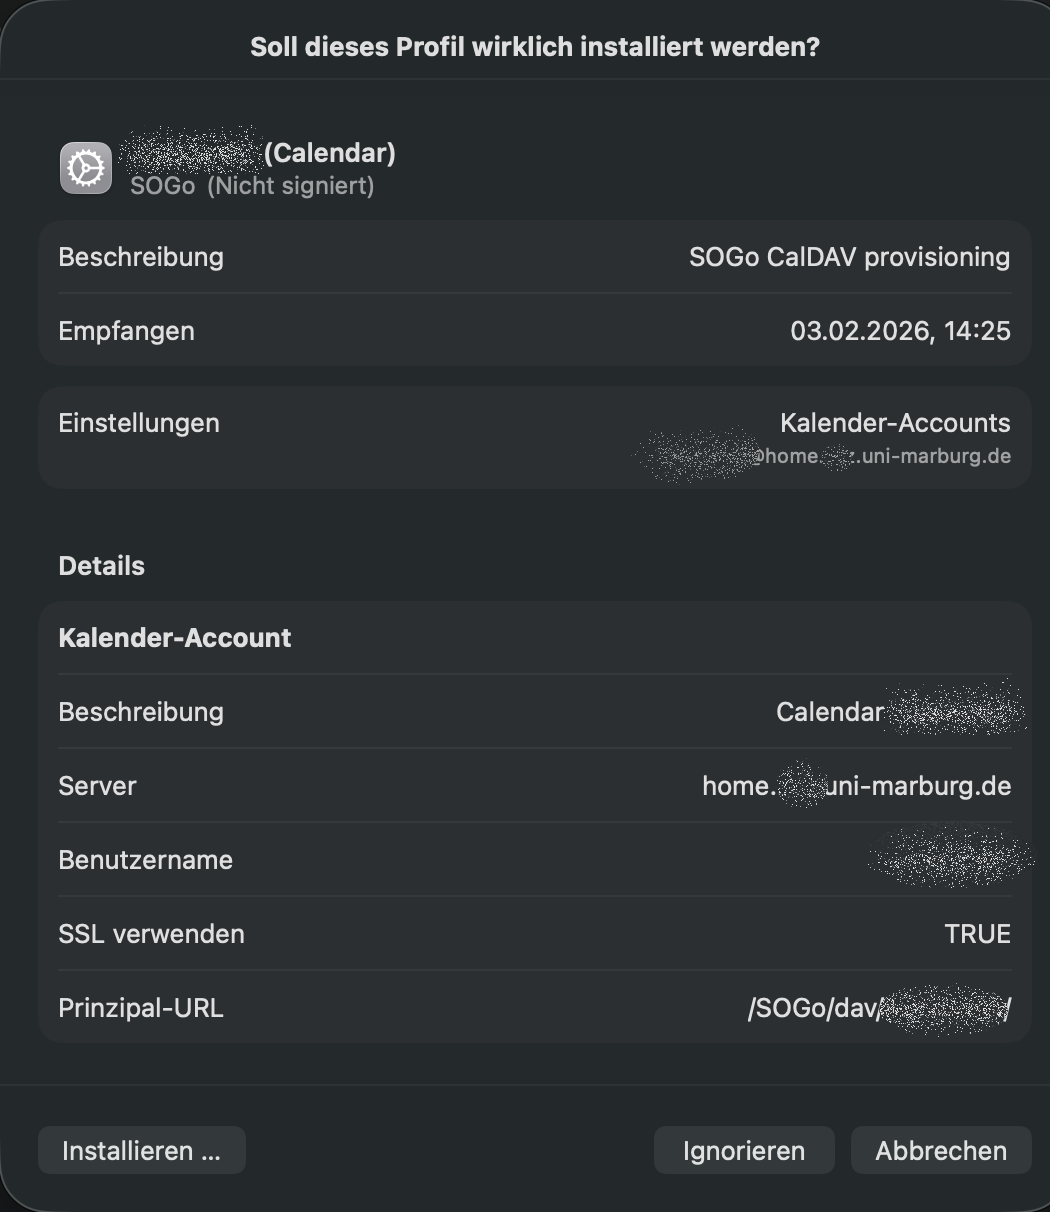
Confirmation of importing a webmail profile on an Apple device
CalDAV settings in Webmail
A "CalDAV" path must be specified as the server path. This can be found in Webmail by clicking on the three dots next to the respective calendar under "Links to this calendar".
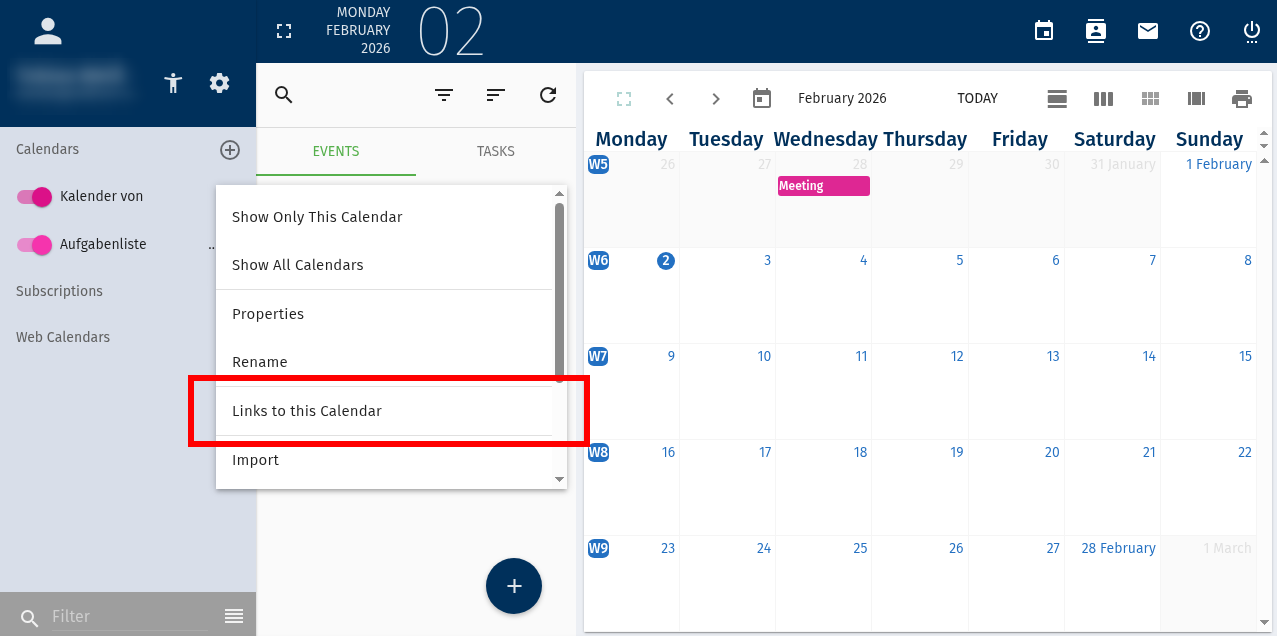
Webmail calendar settings with "Link to this calendar" button
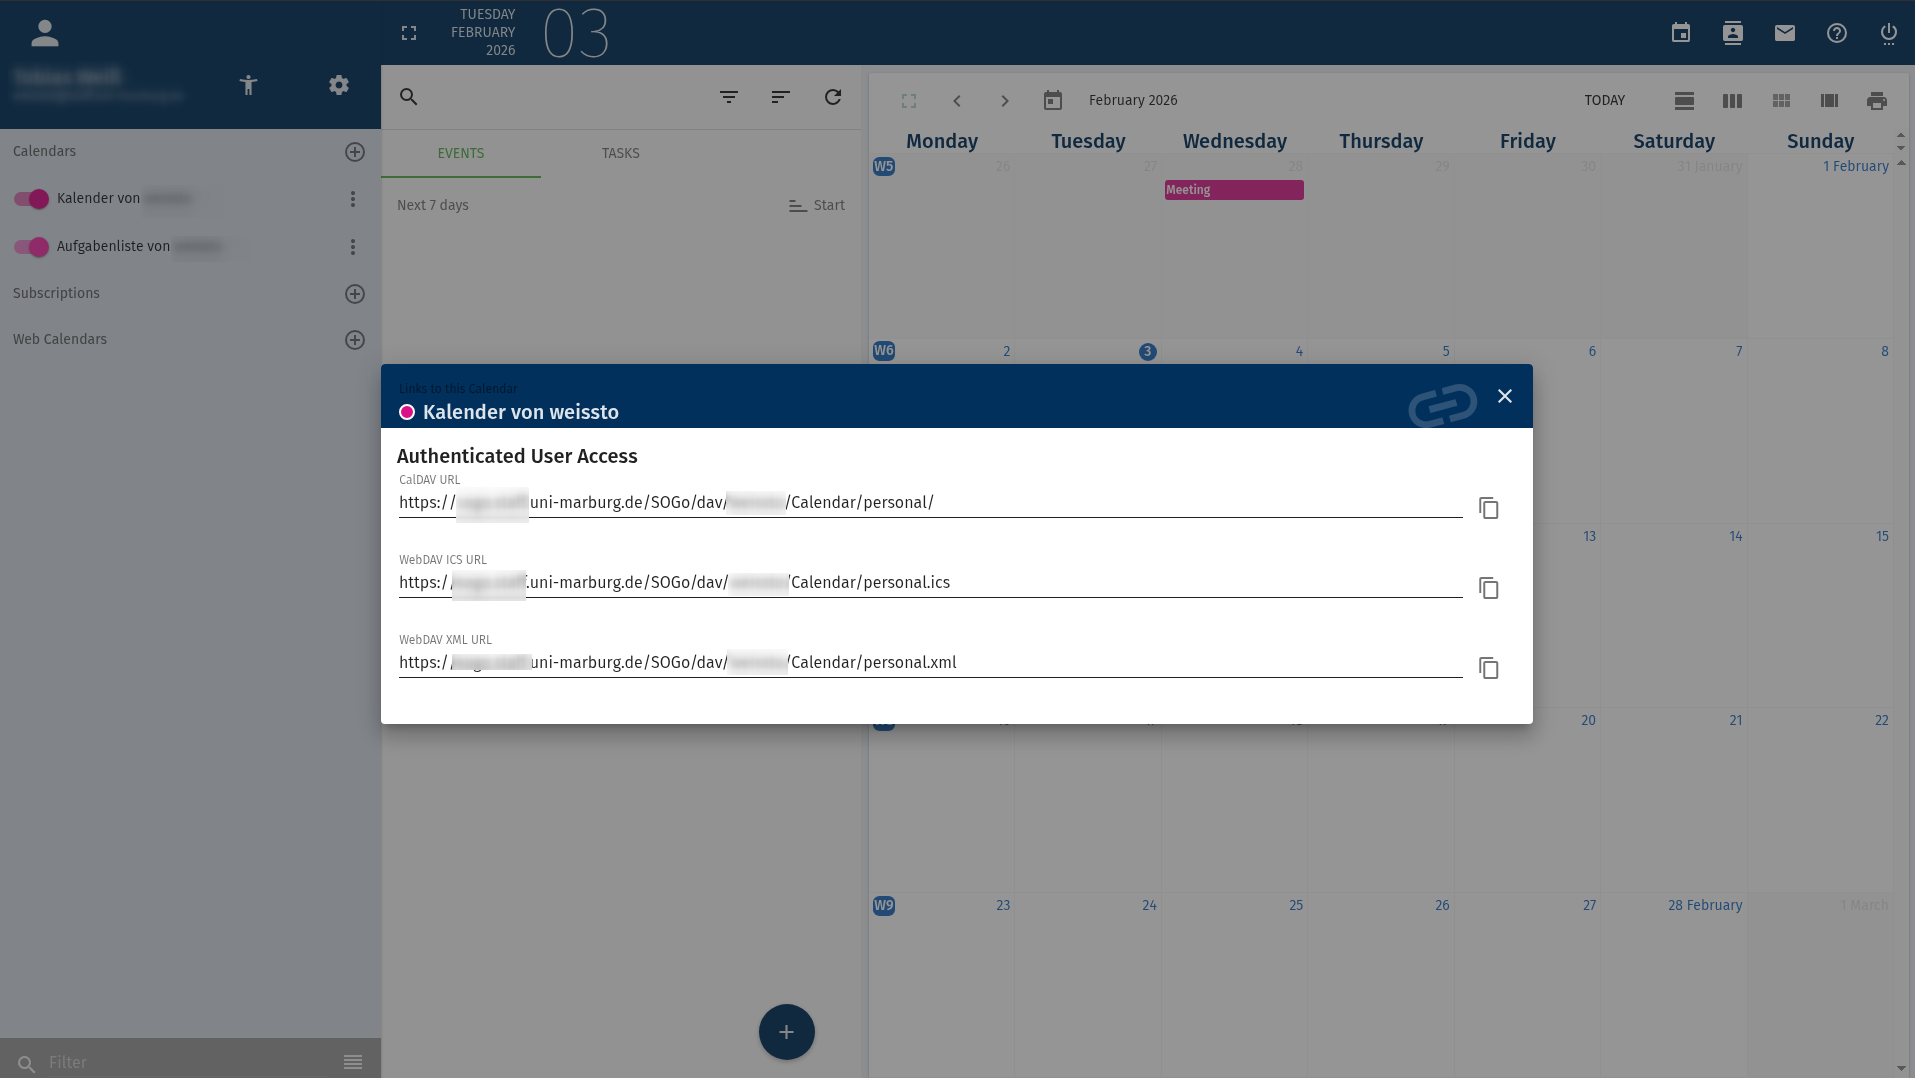
Webmail dialog showing CalDAV links
Instructions for iPhones and iPads
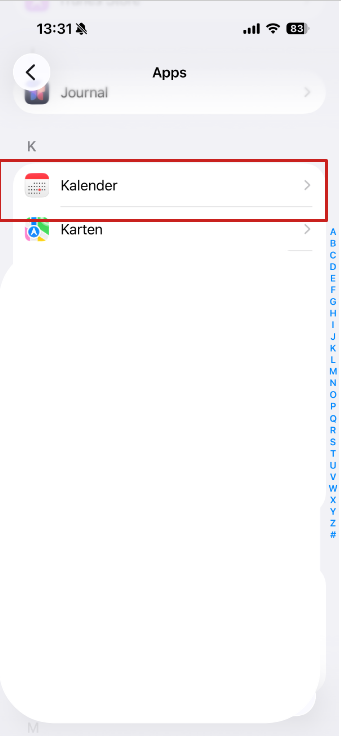
- Settings >> Calendar
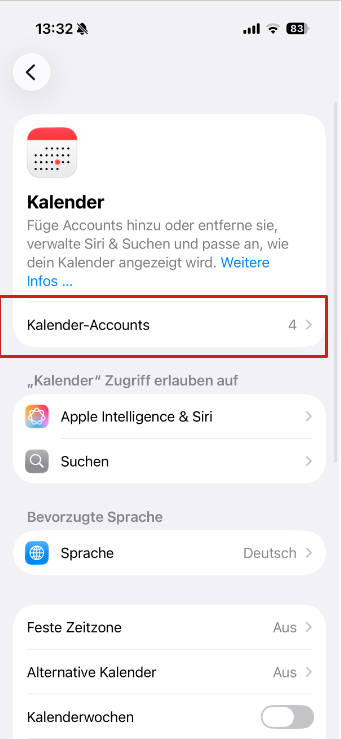
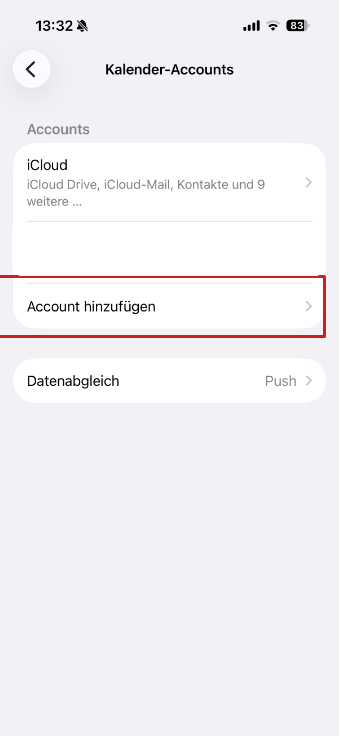
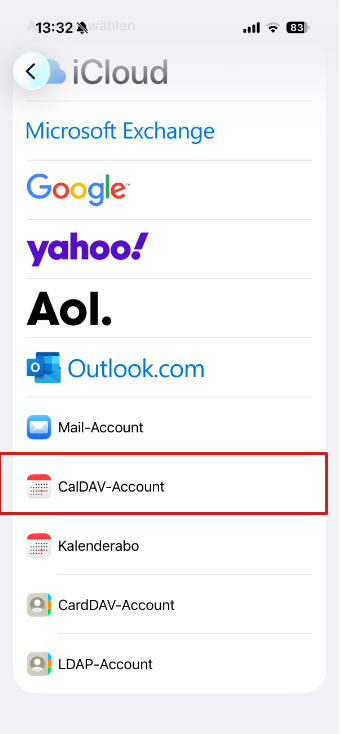
- Accounts >> Add Account
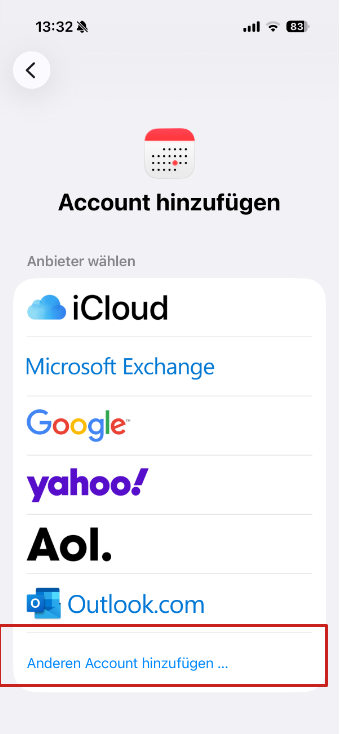
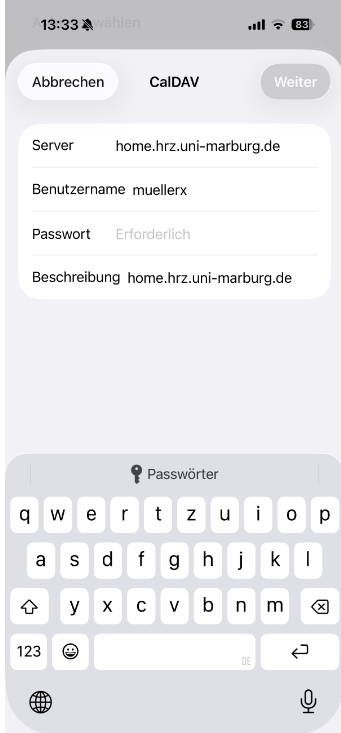
- Other >> Add CalDAV Account
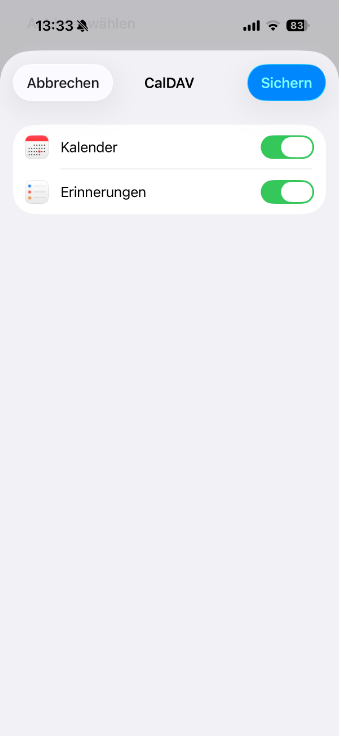
- Enter your credentials and tap Next/Save. Done.