Main Content
Installation and connection setup of a VPN connection on macOS
Entry requirements
- You have the login credentials for your university account (Staff or Students).
- Operating system: Your device should be up to date, i.e. all updates should be installed.
- An existing internet connection on the device (mobile data, hotspot or other WiFi).
Download and installation
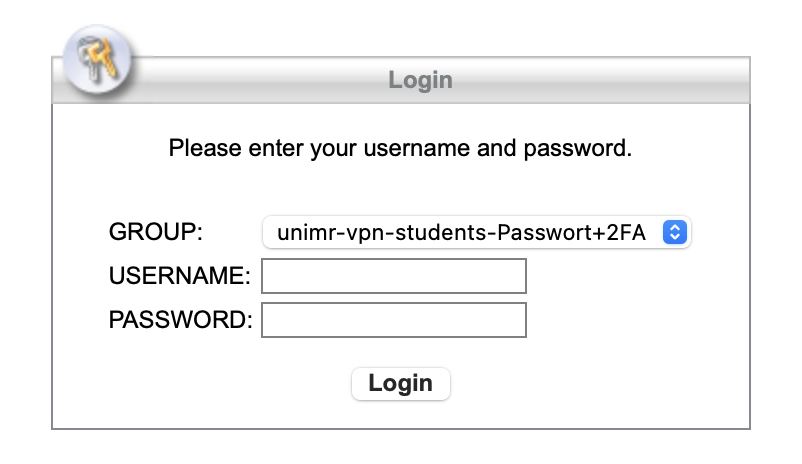
1. Go to https://vpn.uni-marburg.de. Select your user group and enter your usual university username, the corresponding password + the two-factor authentication App-token or TAN-token. Confirm the welcome message by clicking on "Continue".
- Example: Password+Token = S!ch3r3sPW + 987654 ➔ S!ch3r3sPW987654
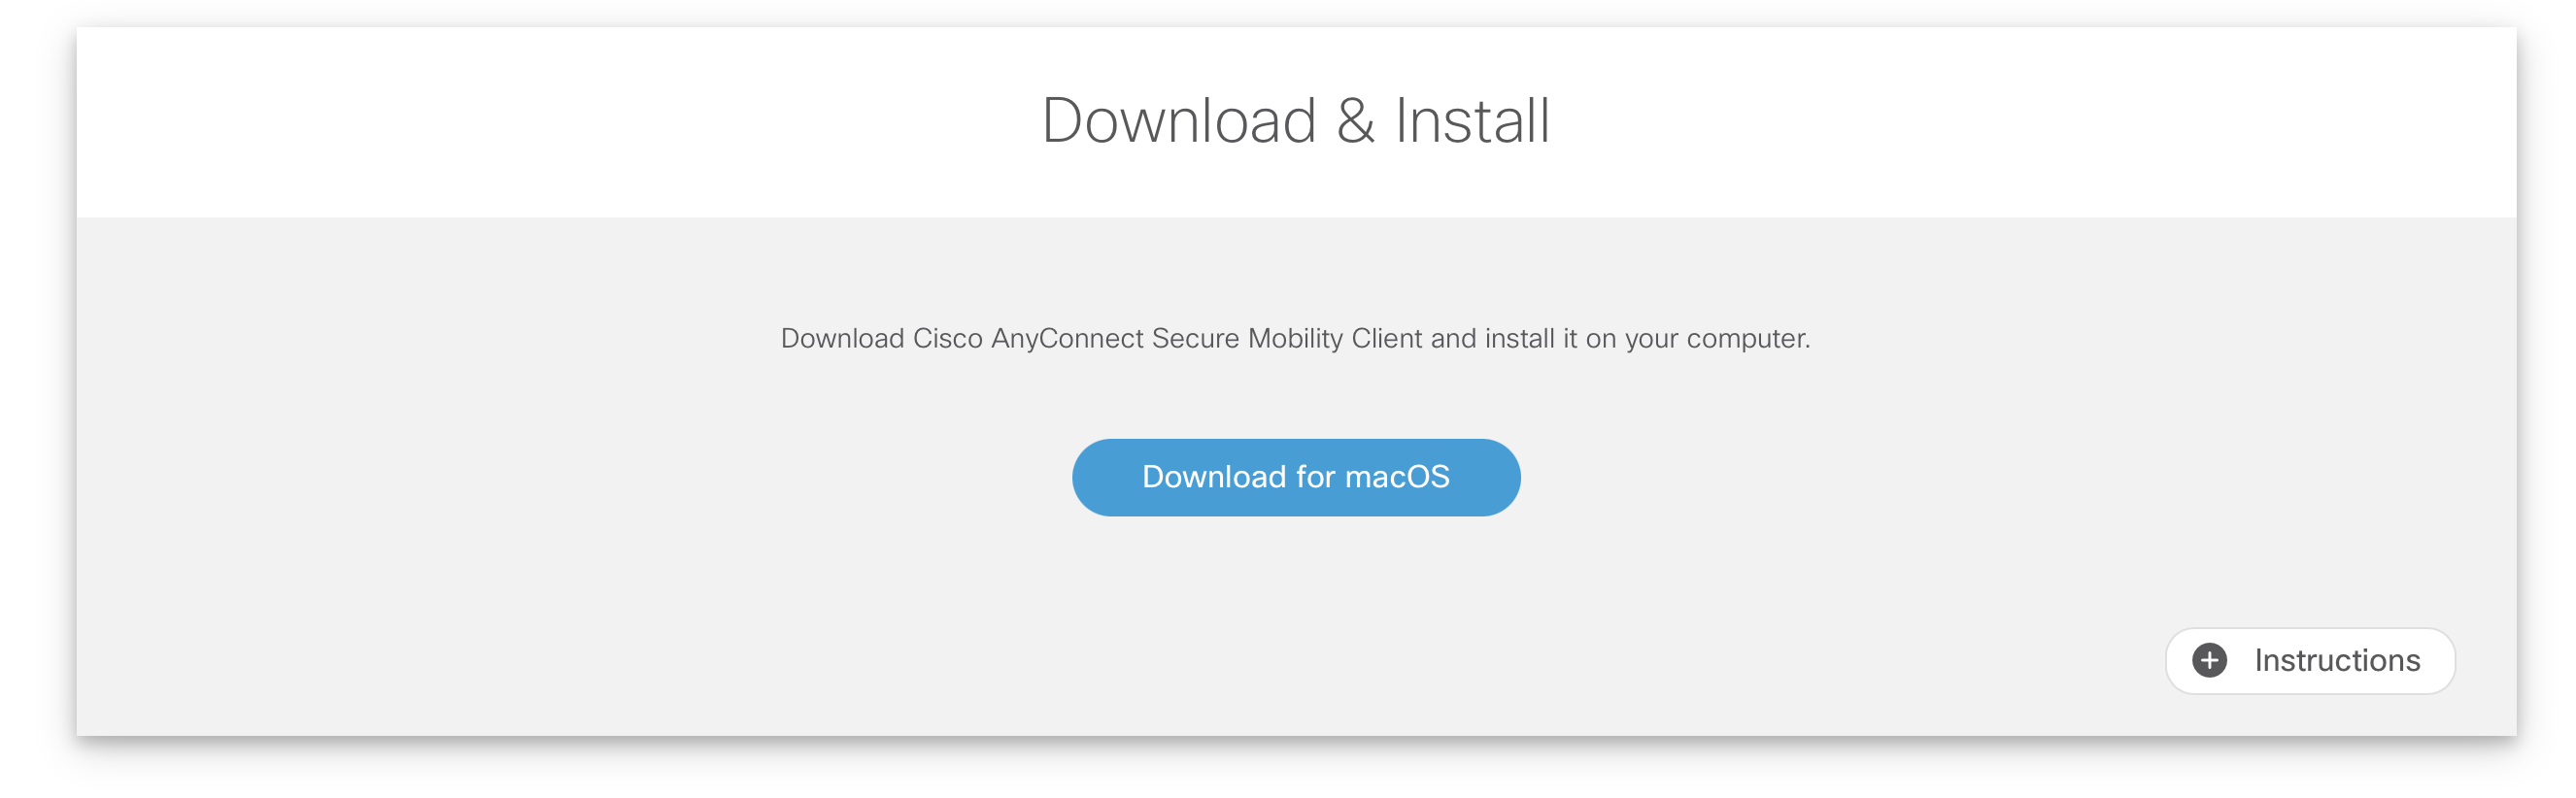
2. Click on "Download for macOS".
3. Open the file from your downloads folder and start the installation package by double-clicking on the package icon. Follow the installation instructions.
Establishing a VPN connection
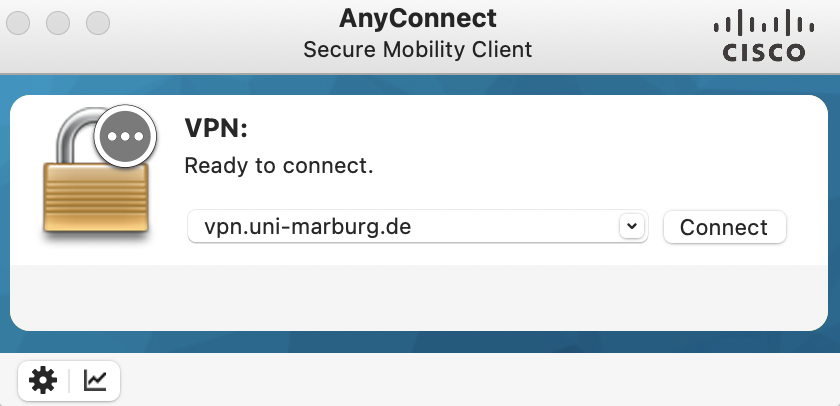
1. Start Cisco Secure Client (Programs → Cisco → Cisco Secure Client).
2. If the prompt "Ready to connect" appears, enter vpn.uni-marburg.de. Confirm the entry by clicking on "Connect".
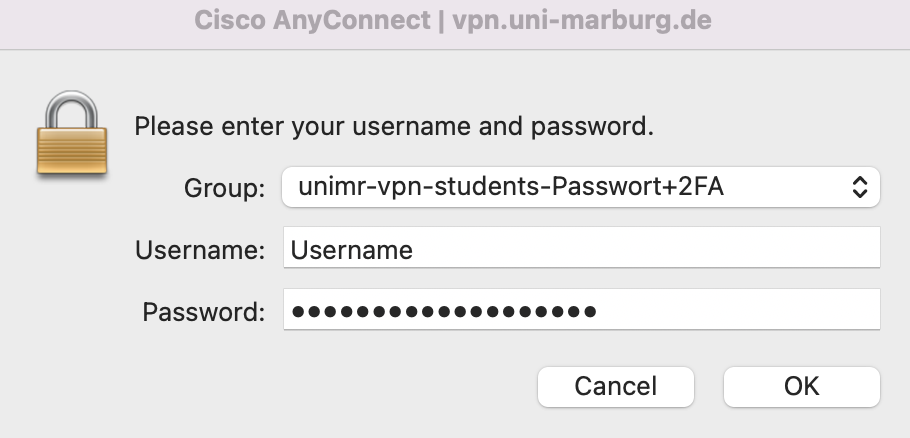
3. Then select the appropriate user group and enter the username, password + the two-factor authentication App-token or TAN-token of your account. Then click on "Ok". Confirm the welcome message by clicking on "Accept."
- Example: Password+Token = S!ch3r3sPW + 987654 ➔ S!ch3r3sPW987654
4. If the connection is successfully established, the login window disappears and the connection is indicated by an icon in the info area (top right).
If the connection does not work, please contact the helpdesk team:
e-mail: helpdesk@hrz.uni-marburg.de
phone: +49 6421 28-28282
Please include your username (uid) when making inquiries.
All contact points for help and advice can be found at:
https://www.uni-marburg.de/en/hrz/help-and-advice/contact-points
As of: 2025-06