Main Content
Instructions - Retrieving Emails with iOS Devices
This guide is also available as a video:
Step 1: Add an Account
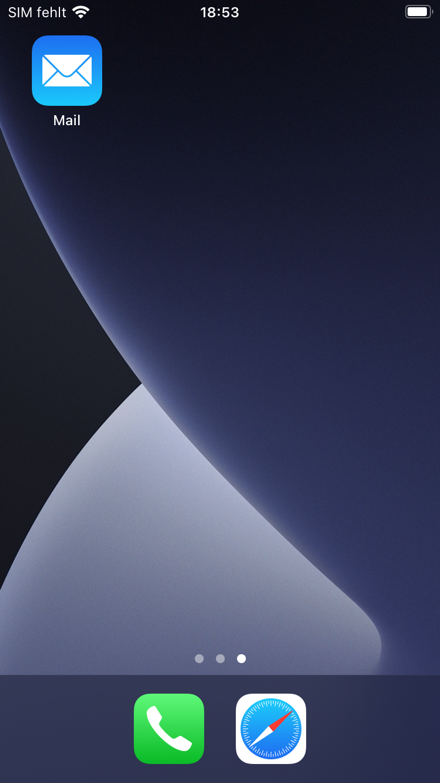
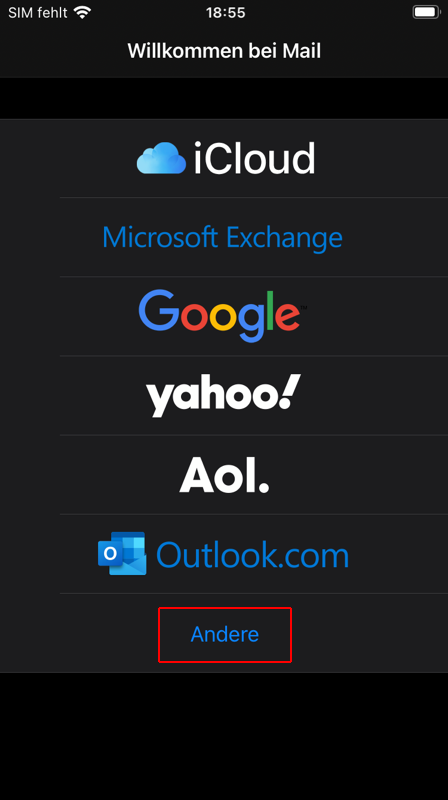
To set up the email service, first open the pre-installed "Mail" app. The Mail Assistant will start automatically the first time you open the app. If an email account is already set up in the app, see the section "Setting up a Second Account."
If no account is set up yet, select "Other."
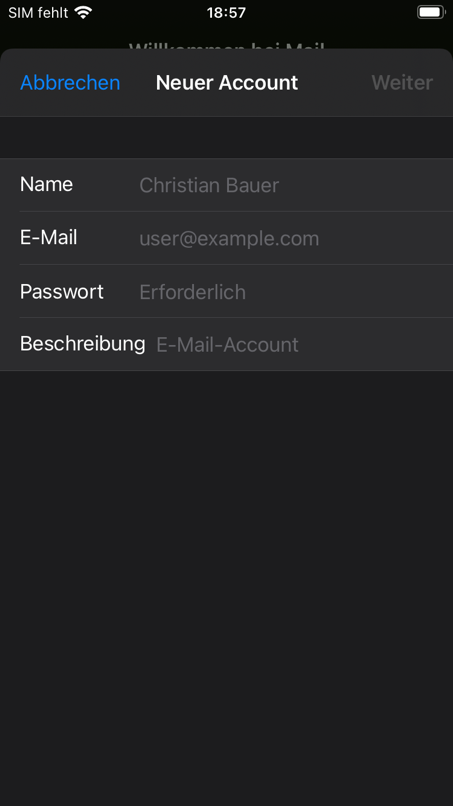
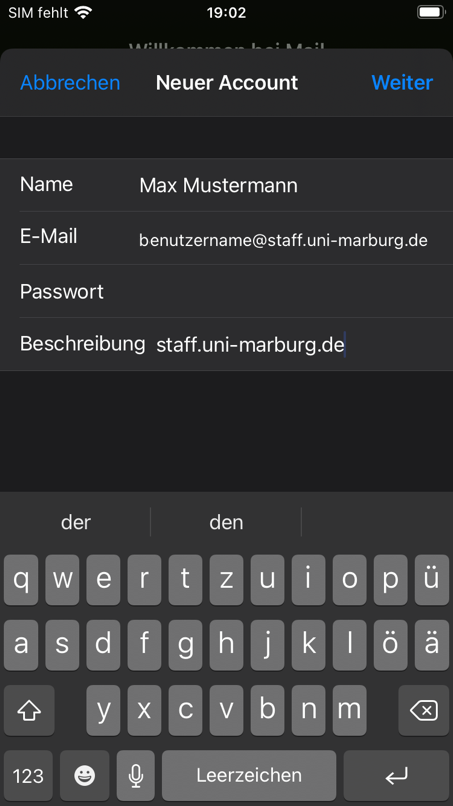
Step 2: Add an Email Account
In the following window, enter your user information. This includes your full name, correct email address, and account password. The "Description" field is automatically filled in, but you can change it if needed by clicking in it and editing the description.
Confirm your entries by tapping "Next" (top right). The existing data will be transferred to the next screen.
Step 3: Enter Mail Server Information
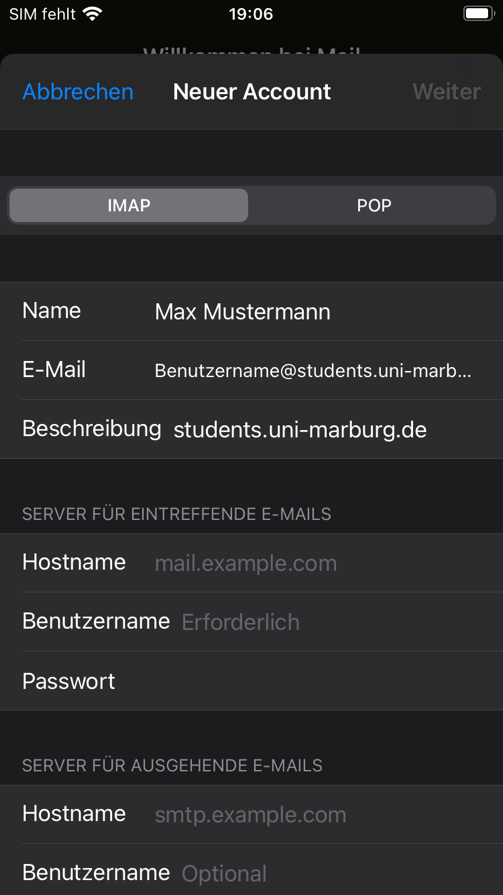
The Mail Assistant requires the exact server information for login. The IMAP setting is pre-configured and already correct.
For the incoming mail server, enter the following under "Hostname":
Students: imap.students.uni-marburg.de
Staff: imap.staff.uni-marburg.de
The outgoing mail server is the same for students and staff and is: smtp.uni-marburg.de.
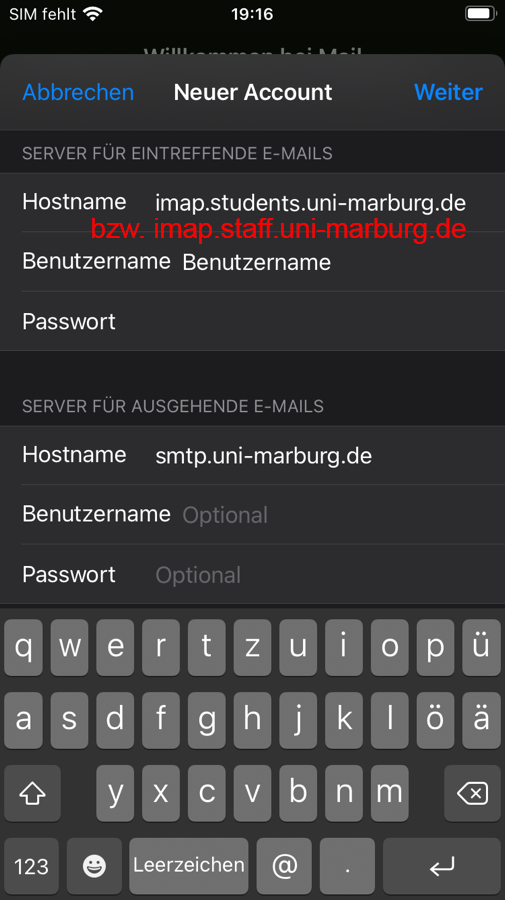
When entering your username, please ensure you only enter the username (e.g., Muellerx) and not your complete email address.
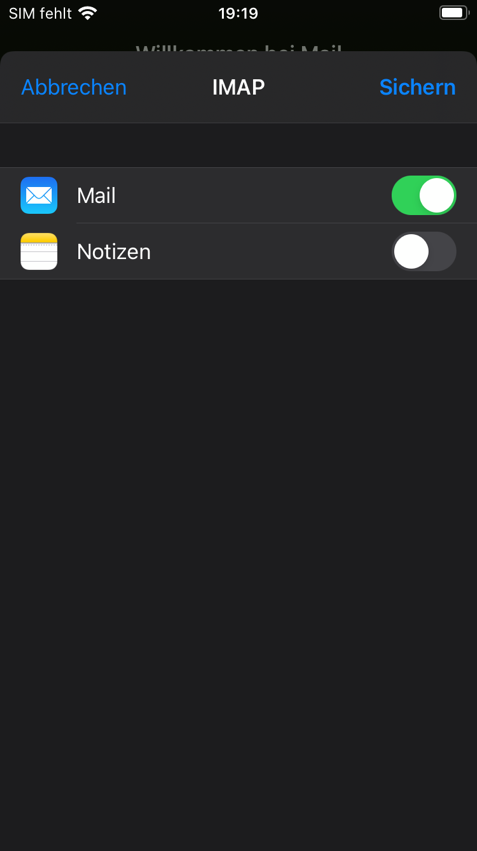
After entering the information, select "Next." The system will verify the information. Once verified, blue checkmarks will appear next to the input fields, and the next screen will appear. In this setting, you can optionally choose whether you want to synchronize notes on your iPhone with those within the Mail service. Otherwise, simply select "Mail." Save the settings.
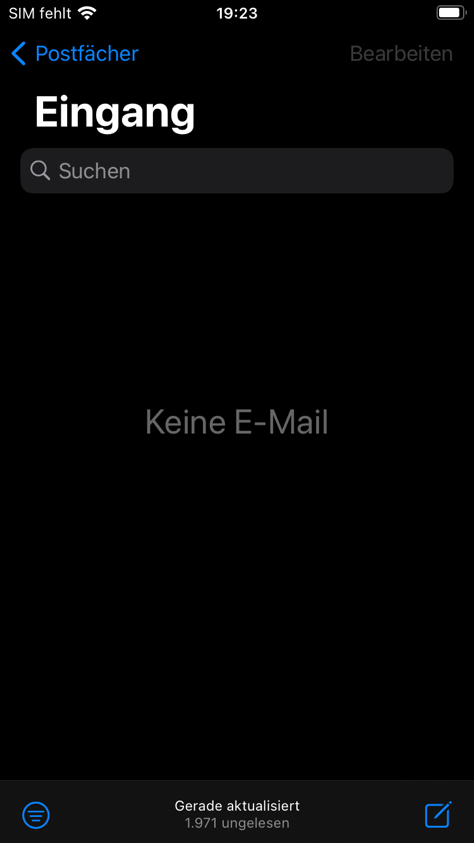
The setup is now complete, and you can access your university email address with Apple Mail on iOS. The screen is initially empty. Pulling down the image synchronizes the latest messages with the app.
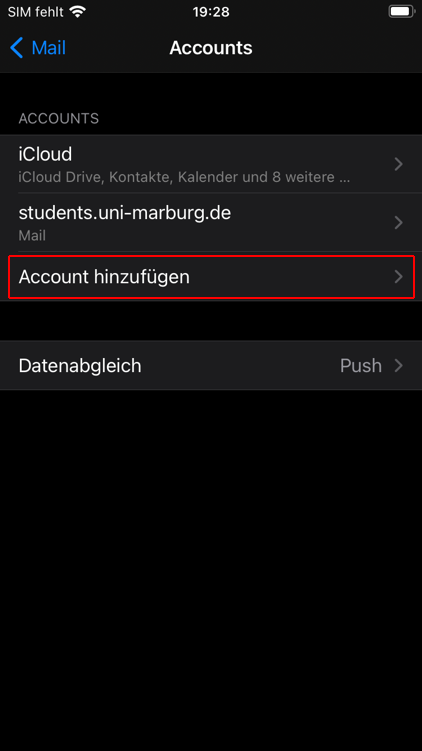
Setting up a second account
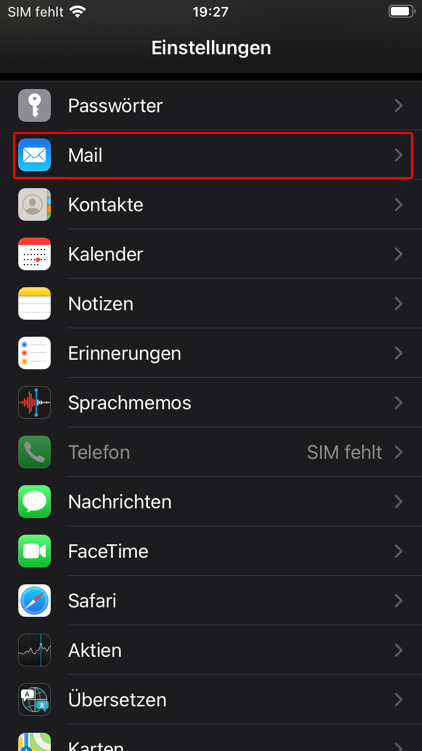
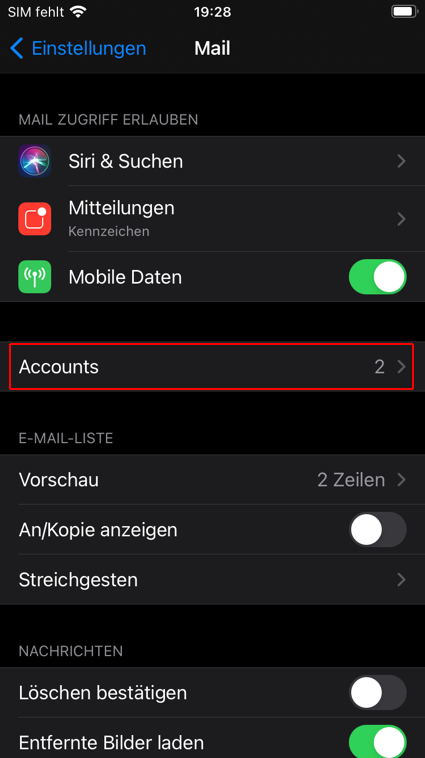
If you already have an email account set up, go to "Settings" to add another one. Tap on "Mail," then "Accounts," and then "Add Account." The Mail Assistant will then appear. You can proceed to step 2: Adding an email account.
Removing an email account
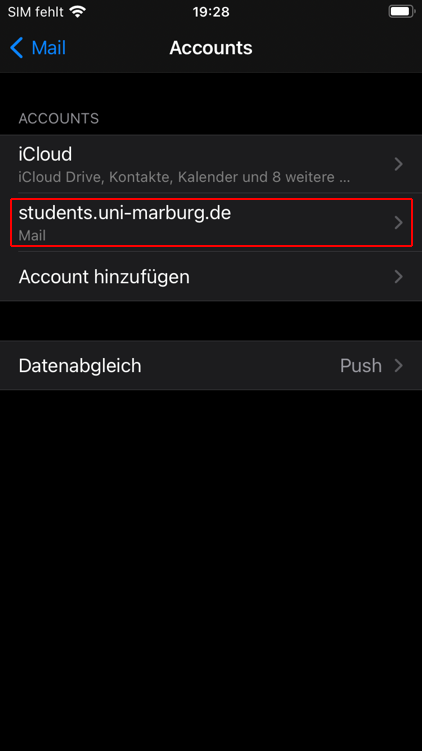
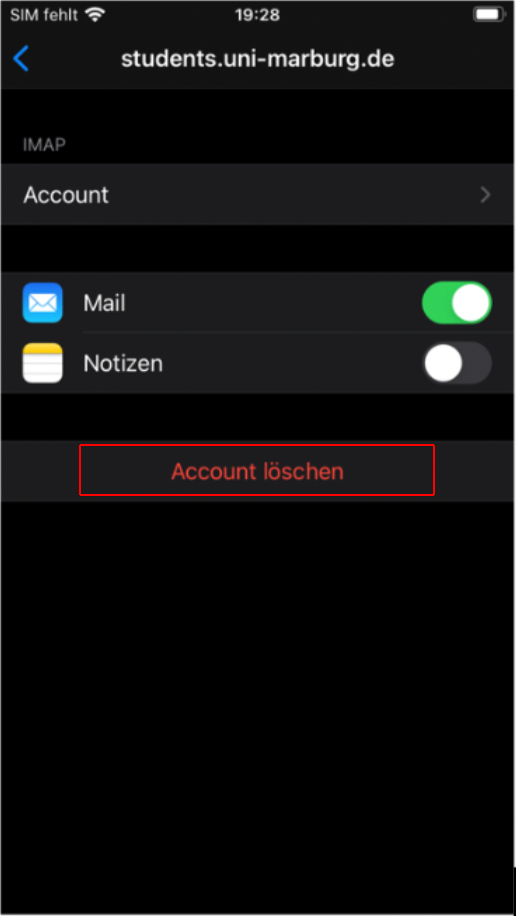
To remove an email account, go to Settings and tap on "Mail," then "Accounts," and then your email account. Now select "Delete Account" and confirm the security prompt. The account and its emails are now completely removed from the app. However, they remain in your university mailbox and can be accessed, for example, via webmail.